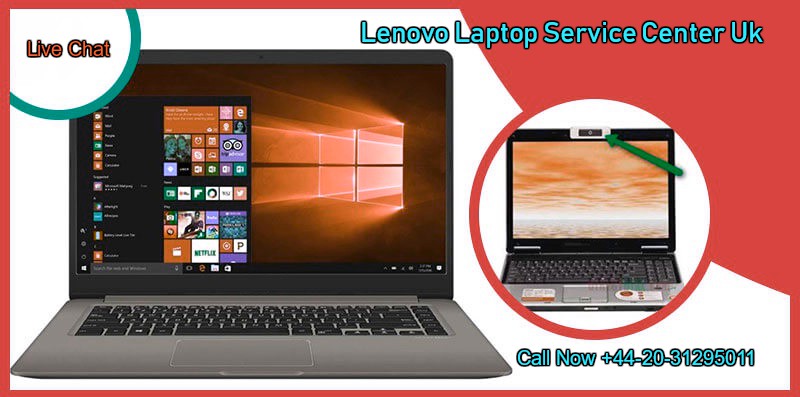
 The non-functioning web camera in Lenovo laptops is a very common issue. It happens quite a lot of times. People who have come across this problem observed that the built-in camera is not working properly or not working at all. Instead of seeing an image with the camera, all you see is a grey background and a white crossed camera. This is an indication that the camera is faulty in your laptop.
There are plenty of solutions to troubleshoot this issue. But the best way out is to contact Lenovo Computer Repair UK. They will provide you clear, understandable solutions without confusing you. However, if you don’t understand anything, you can always ask them regarding that. You can also ask for extra tips to avoid this problem in the future. This strange, little issue is an internal bug in Lenovo software which disables the Lenovo camera without the permission of the user. But one can always resolve this petty error with some simple steps. Read below the solution to troubleshoot Lenovo webcam error- Note: This method will only work with Windows 8 or 8.1 Operating System.
If the above method didn’t work out for you, then you can update Lenovo settings dependency package software. To do that, access Lenovo website on your favorite web browser. Here download and install the latest software package and uninstall the older one. However, you must take into account the risk this method brings to your laptop data. Therefore, it is prudent to call Lenovo Computer Repair UK +44-20-31295011 for any queries. Our IT engineers are ingenious and they are familiar with all the know-how of potential errors. They know how to resolve them effectively without affecting your personal data in the least. Read More: Fix CD or DVD detection issues in Lenovo Ideapad
0 Comments
Lenovo laptops have become a favorite among users across the globe. Their wonderful design, features, and services have made a great impact in the market. There are users who choose to use a USB dock for charging and come across some issue related to the device. The specialists at Lenovo Repair Center suggests that before you use the ThinkPad USB-C dock make sure that your Lenovo laptop BIOS and drivers are up-to-date. Drivers must be installed related to Dock serial number and don’t affect the system. Follow the troubleshooting steps to rectify your problems.
In case, the dock isn’t charging your system: • Simply disconnect and reconnect the dock from the system. • Make sure you use the 90-watt power adapter shipped along with the dock station. • It is advised to refer to user’s guide of your system to solve if the dock and adapter aren’t working. • Turn off your system & push the button for hardware reset. For details regarding the hardware reset, you can refer to system documentation. If you notice flickering on dock monitor • Firstly, disconnect and then connect the dock again from your Lenovo laptop. • Go to operating system control panel and visit the dock overview page. To do this: * Hover the cursor to the bottom-left corner of the screen from the desktop. * Search for control panel. * Depending on your control panel mode, click Display > Change display settings or go to appearance & personalization > display >advanced display settings or in the multiple display drop-down list box, choose the mode of your choice. • Disconnect your laptop and then to the dock station. • Keep in mind to use the original USB-C with the dock station. There may be chances that there is no display on the dock DisplayPort or VGA port. Other issue related to the dock can be that head/microphone isn’t working properly on the dock audio port, the LAN port is not functioning or USB ports are not functioning. All these issues are major and need immediate rectification. Call with Lenovo Laptop Service Center Number +44-2039-666964 fir instant service & resolutions. Our service is well-known for providing on-time resolutions and fixation is done perfectly. Read more: - Troubleshooting Lenovo Yoga Tab 3 8 |
